
For each question type, there are general, specific and curate settings. The general settings are the same for all question types. The specific settings, on the other hand, are only applicable to certain question types.
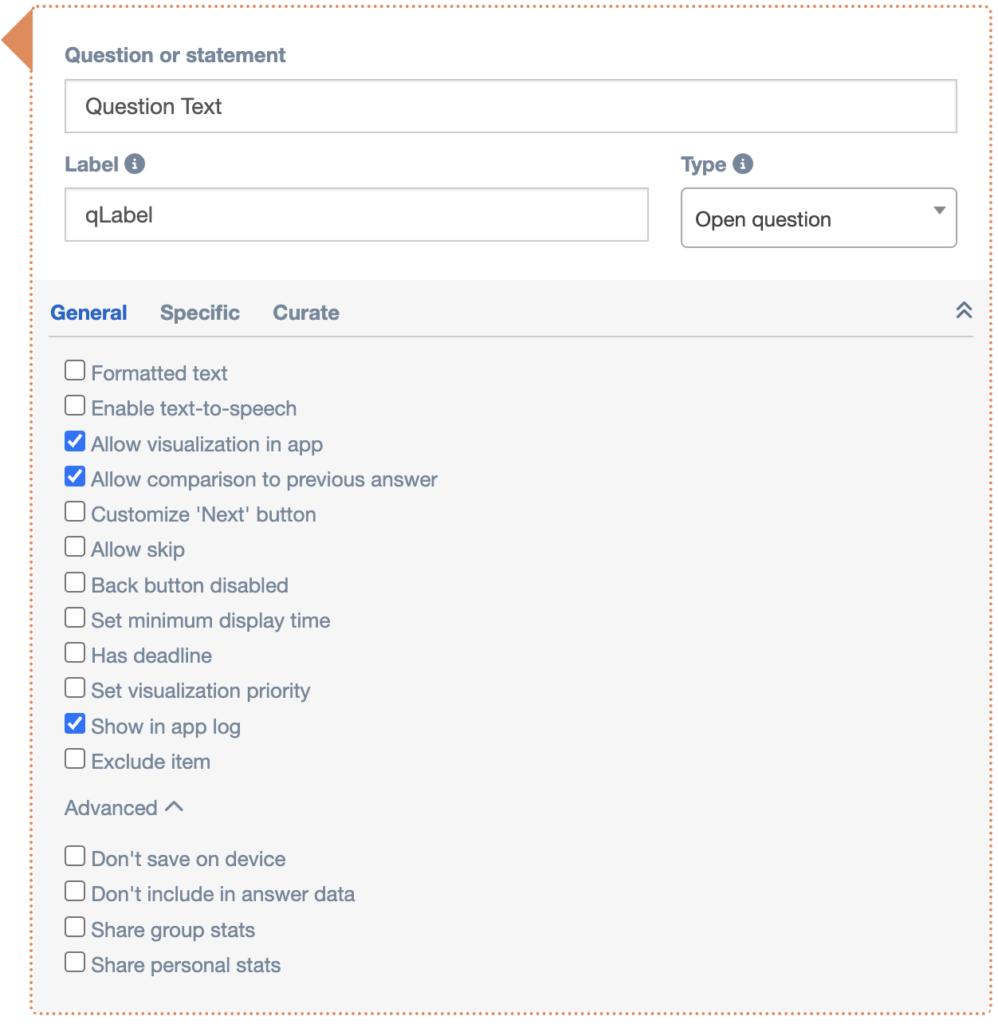
Formatted text
When you check the Formatted text box, the text will be displayed in HTML style.
You can subsequently type in HTML text. Some commandos:
- Bold text: <strong>bold text</strong>
- Italic text: <em>italic text</em>
- Bigger text: <h2>bigger text</h2>
- Break: <br>
- Link:<a href=”www.example.com”>Click here!</a>
If you don’t know how to write HTML you can use an online converter tool (e.g. https://wordhtml.com/)
The underlying HTML code will lead to the following text in app when using formatted text:
<p>This is normal text.</p>
<p><strong>Bold text.</strong></p>
<p><em>Italic text</em></p>
<p><u>Underlined text</u></p>
<p><span style="font-size: 26px;">Big text.</span></p>
<p><span style="font-size: 9px;">Small text.</span></p>
<p><span style="color: rgb(226, 80, 65);">Red text.</span></p>
<p style="text-align: center;">Centered text.</p>
<p style="text-align: right;">Right align text.</p>
<ol>
<li>list 1</li>
<li>list 2</li>
<li>list 3</li>
</ol>
<ul style="list-style-type: disc;">
<li>A</li>
<li>B</li>
<li>C</li>
</ul> Web links
It is also possible to add web links in HTML. For example the following HTML code will lead to a link being shown in m-Path.
Click on the following link and then come back to m-Path <p><a title="m-Path" href="https://m-path.io/landing/">This is a link</a></p>Web links are opened in a new app in m-Path. Note that users should come back to the app and finish the questionnaire if you want the answers to be saved.
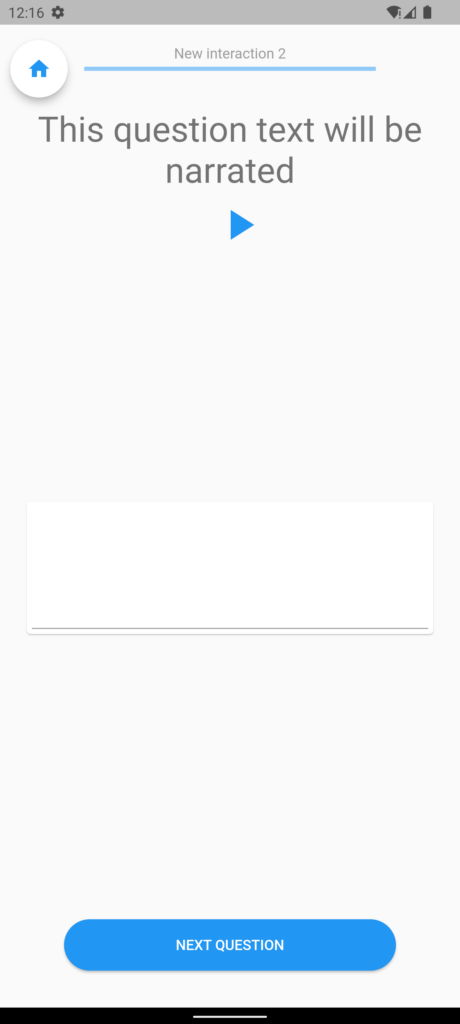
Enable text-to-speech
With this option, you can enable a button underneath the text that plays a text-to-speech rendering of the text.
Language
Here you can set the language that the text-to-speech protocol should simulate. This is useful for when the user’s device language differs from the language of the questionnaire.
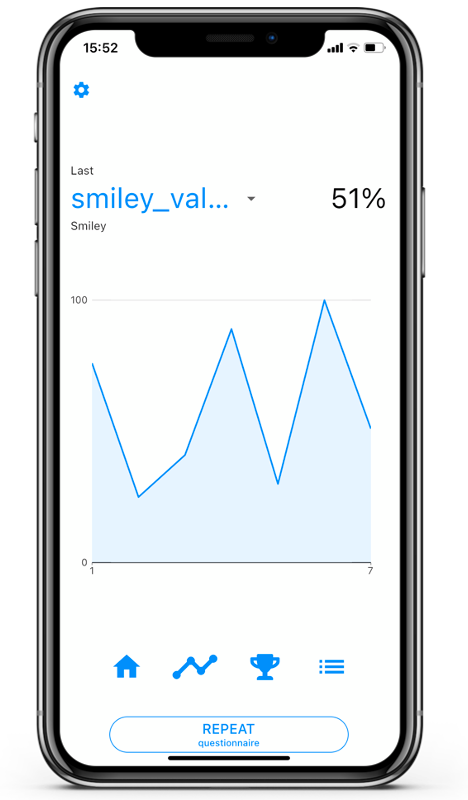
Allow visualisation in app
By checking this box, you allow your app users to see a brief summarization of their answers in the app. App users can see a graph of their answers by clicking on the second symbol on the home page.
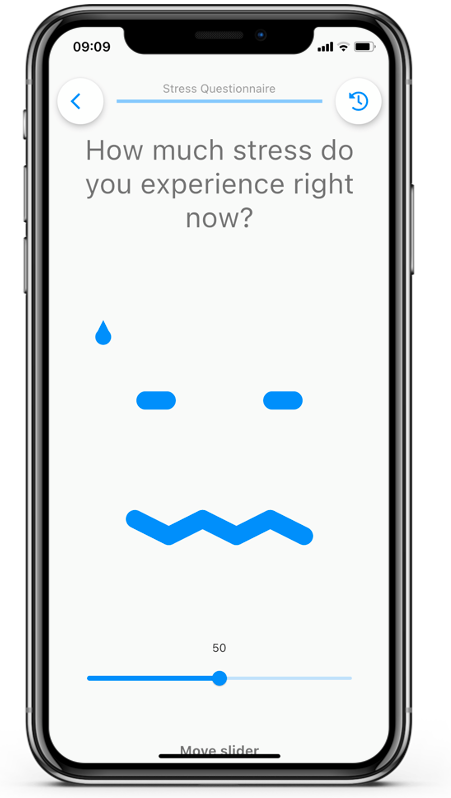
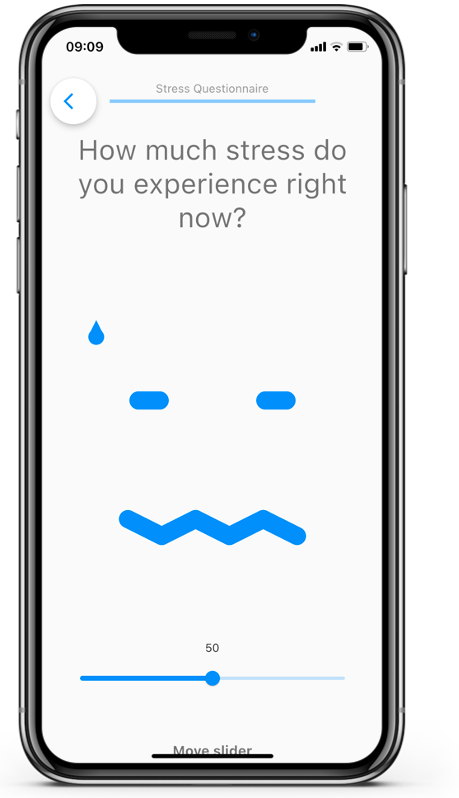
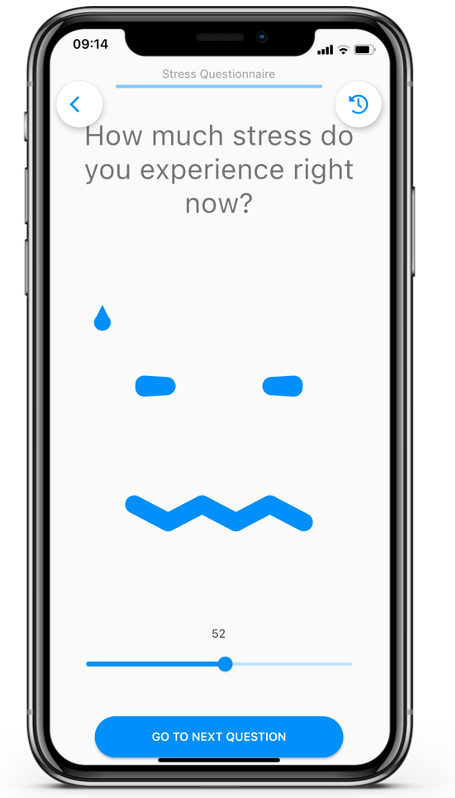
Allow comparison to previous answer
When you check this box, app users are able to look back at their previous answer by clicking on ‘‘ in the upper right corner of the screen.
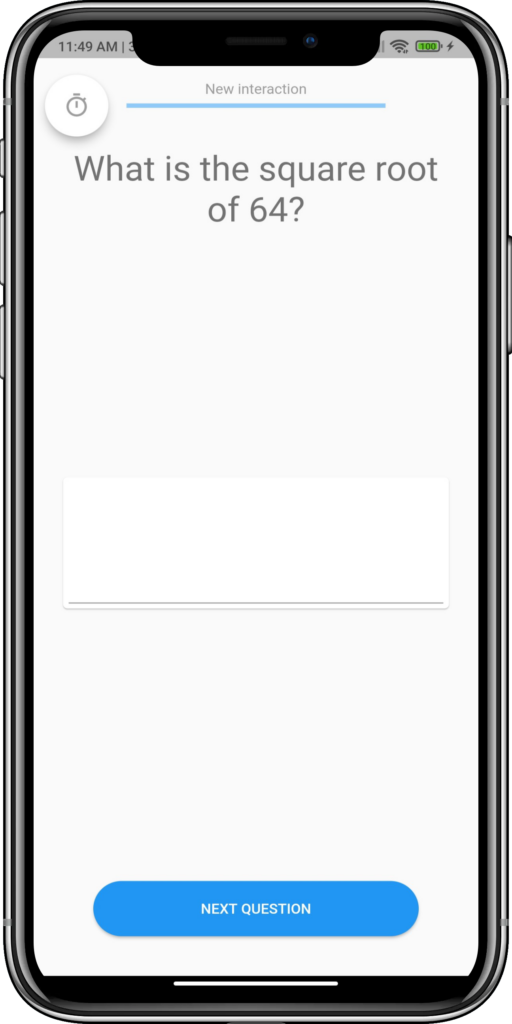
Customize ‘Next’ button
When you check this box you can change the name of the button to go to the next question. The default name is ‘NEXT QUESTION’. The name you give to the button will always be displayed in capital letters.

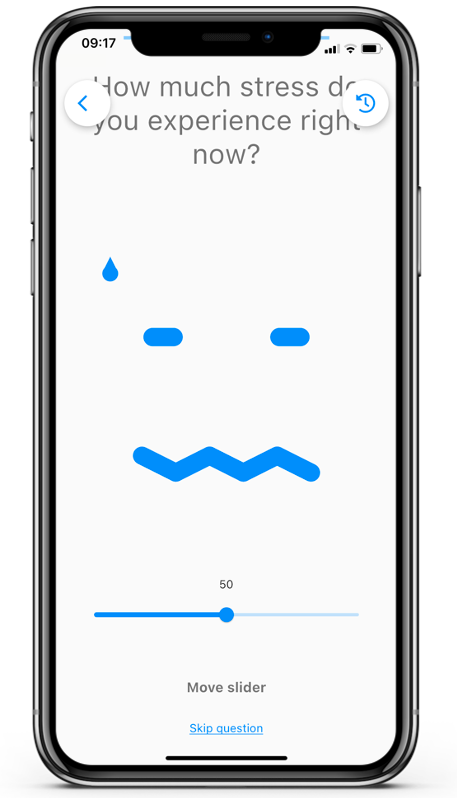
Allow skip
When you check this box, the app user is given the option to skip this question. Just as with the Next button, it is also possible to customize the Skip text. The default text is ‘Skip question’.
It is possible to test within a questionnaire if a question was skipped using the is.skipped command: see computation questions to see how.
It is also possible to export a file to see which questions were skipped. In the current version, the answer that was filled in before the skip button was clicked is still saved. In a future update, this will no longer be the case.
To see the skip button in action, check out the ’empty answer test’ questionnaire in the library.
Back button disabled
If you tick this setting, the app user will not be able to go back to the previous question upon reaching the current one.
Set minimum display time
This setting enables you to set a minimum time to display the current question before the “Next” button becomes interactive. This can be helpful for if you want the app user to take some time before answering, or if you want to have some safeguard set up so that they cannot skip a certain activity. The time unit is milliseconds.
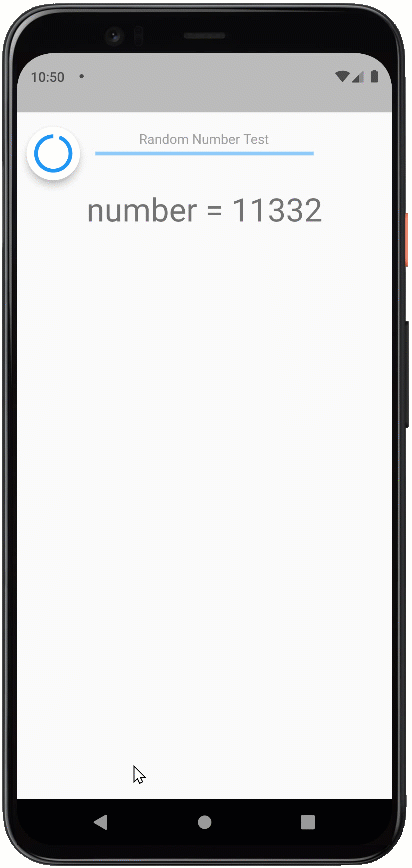
Has Deadline
This checkbox allows you to set a time limit on a question. The app user will only have a certain amount of time to answer the question, before the questionnaire automatically advances to the next one. On timed questions, the option to go back to a previous question is disabled. Likewise, it is also not possible to go back to a timed question.

The additional option “Show deadline” decides whether the timer is shown to the app user, or hidden from them. The timer is shown as a circular countdown clock in the top left corner.
An example where the app user has to remember a random number is shown in the following GIF and is explained here.
It is possible to test within a questionnaire if a question was timed out using the is.timedout command: see computation questions to see how.
The answer that was filled in before the deadline was reached is still saved. Sometimes however this answer is invalid, or nothing was filled in yet (that means also no valid starting value). This can be checked in the app using the is.empty command in a computation question. Some examples:
- A single choice answer that was timed out and was not filled in will return is.empty as true.
- A slider question with a starting value (e.g. at 50 on a scale from 0 to 100) that was not filled in and was timed out will return is.empty as false. Its answer will be 50.
To see the deadline in action, check out the ’empty answer test’ questionnaire in the library. In this questionnaire the is.empty command and is.timedout command are also used.
It will also possible to export a file to see which questions were timed out (in a future update).
Set visualization priority
When you have a questionnaire with a lot of items, you can choose which items you want to show up first in the visualisation list . You can do this by ticking the box Set visualization priority of the items you want to prioritize, the higher the value the higher the question will rank.
Show in app log
When you check this box, the app user is able to view his or her specific questions from completed interactions in the app log. This box is checked by default for every question type. You can find more information about the app log and other functionalities of the m-Path app here.
As an example, have a look at the figure below. In the first stress questionnaire (below), both questions and their answers are visible, thus the box Show in app log is checked for both questions. The same stress questionnaire is repeated (above), but the box Show in app log is only checked for the first question.
Exclude item
When you check this box, the question will not be visible in the interaction that is sent to the app user. This setting is interesting if you would like to keep the question, but want to wait for a later/better moment to ask it.
Advanced Settings
Some settings have been collected in the advanced settings submenu, as these should only be used when you are certain you need them (as they introduce extra data being generated or can cause data being lost).
Don’t save on device
This setting makes sure that data for this question doesn’t get saved on the device. This can be useful for computation items that generate a lot of data to be used during the questionnaire (ie. to control the flow of the interaction) but isn’t useful otherwise.
Don’t include data in answer sheet
With this, data does get saved on the device, but will not be included in the export datafile.
Share personal/group stats
Used in case you want to generate aggregated data summaries, check this page for more info on this feature.