
In the sidebar you will find a Settings tab with two subtabs. This page will handle the main settings when you click the upper Settings tab.
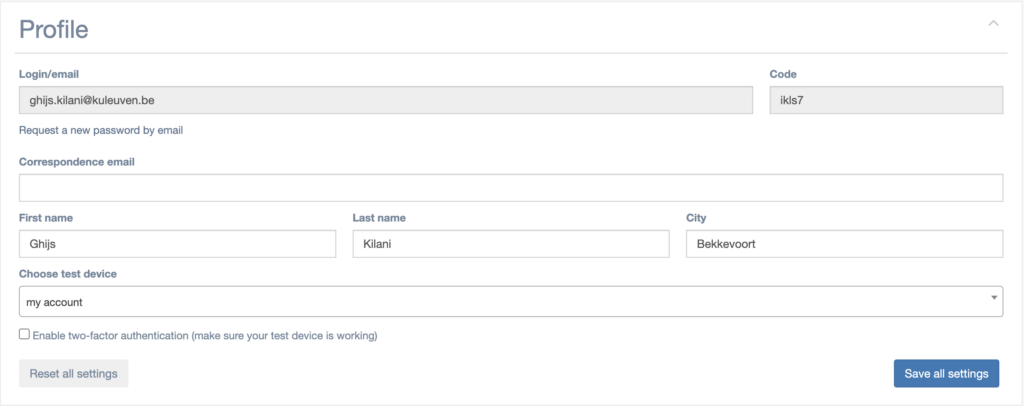
Profile
Correspondence e-mail
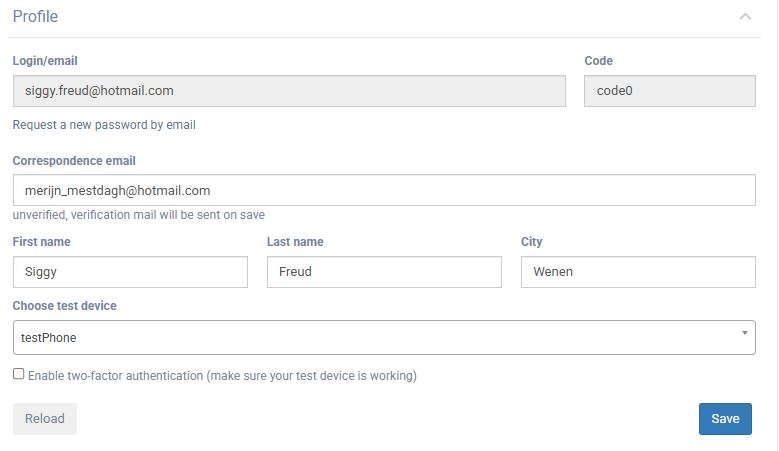
If your e-mail address on which you want to receive communication differs from your login, enter it here. Don’t forget to click on save.
You will then be able to verify your e-mail address (see bellow image where it states ‘unverified, verification mail will be sent on save’).
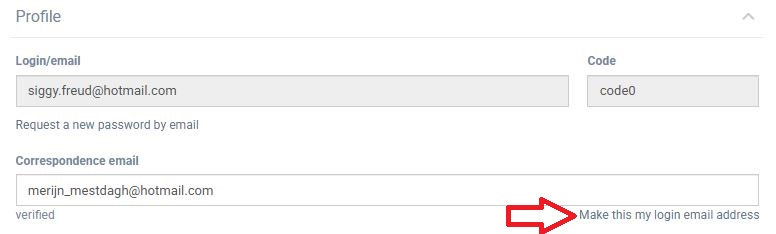
Change Login
Once you changed the correspondence e-mail and verified this e-mail (see steps in paragraph above), you will be able to change the login. You can now click on ‘Make this my login email address’ (see image bellow).
Choose test device
You can also choose which device you would like to configure as the test device.
The test device is the mobile device that is connected to your practitioner’s account. It allows you to test interactions you’ve created. If the client account on your phone is the first one you’ve added to your dashboard, it will automatically be configured as the test device. If the client account on your phone is not the first one you’ve added to your dashboard, you can still configure it here.
Enable two factor authentication
With 2-factor authentication, an extra layer of security is added to your account to prevent someone from logging in, even if they have your password. This extra security measure requires you to verify your identity using a randomized code we’ll send to the test device each time you attempt to log in.
Dashboard Settings

Default dashboard
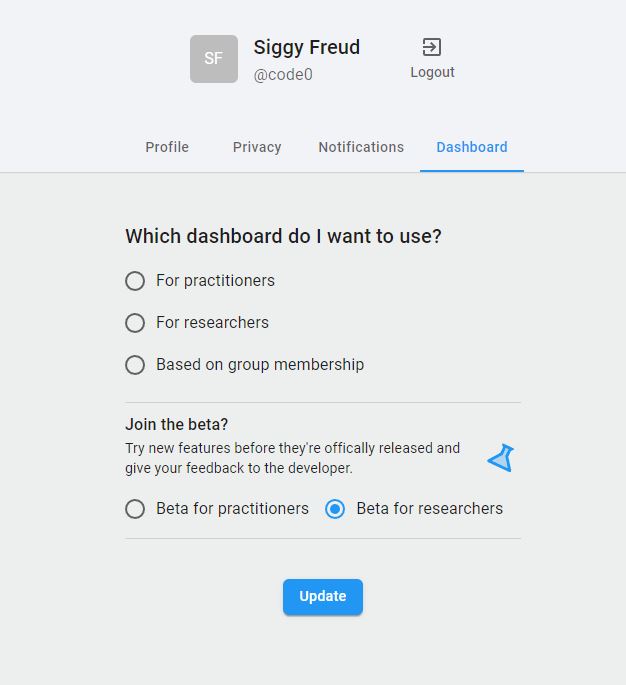
Here you can change which dashboard you want to use. The researcher dashboard is the one this manual describes, while the practitioner dashboard features a more simplified straightforward interface with usability as the main design motivator. Select Based on subscription if you have access to in-development features that the main dashboard doesn’t contain yet.
Here, you can also opt-in for beta versions of the dashboard, where you will get early access to features that might still be slightly unstable or undocumented.
Change back to the researcher dashboard
If you changed your dashboard to the practitioner dashboard, it is easy to switch back to the researcher dashboard. To do so follow the next steps:
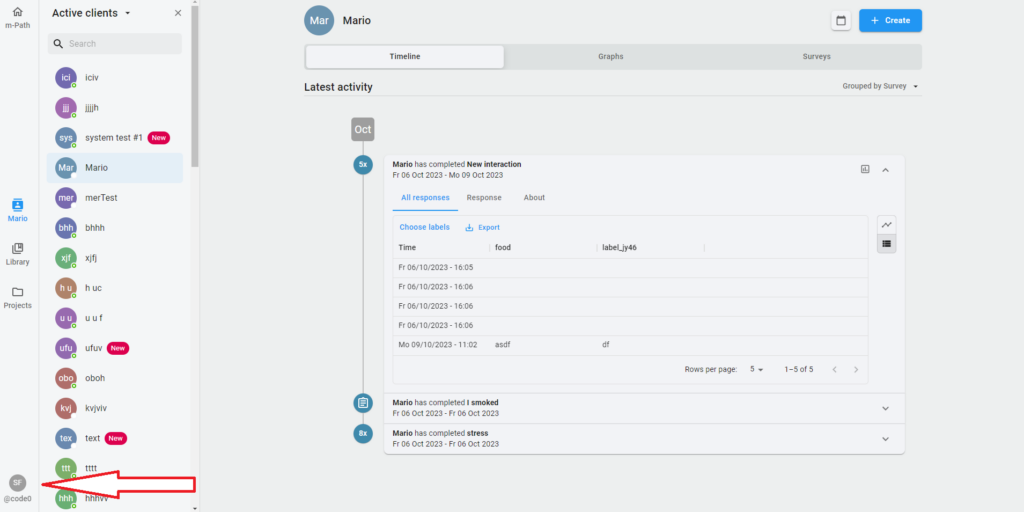
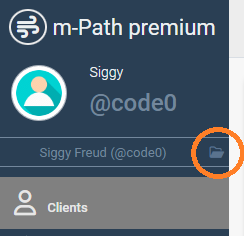
- Open settings screen in the practitioner dashboard by clicking on your initials and code on the bottom left (see image)
- Click on dashboard to open dashboard settings
- Choose dashboard for practitioners and click update.
- Log out and log back in. Now you should be in the dashboard for researchers again.
Privacy
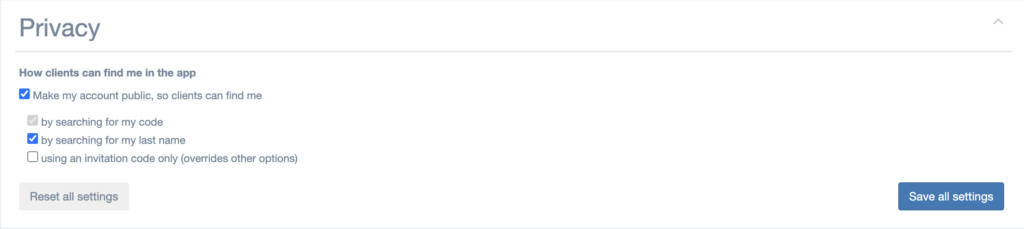
How clients can find me in the app
In this setting, you can make your account public. When checking the first box, you allow clients to find you by using your code. When checking the second box, clients can also find you by searching your last name. When you would like to have a private account but make sure clients could find you, make use of an invitation code.
Notifications
Notify me by mail when
By checking these boxes, you will be notified when someone has added you as a practitioner or when there is any new information about m-Path.

Access Rules
The Access Rules section allows you to control which other m-Path accounts can access your account and to which extent.
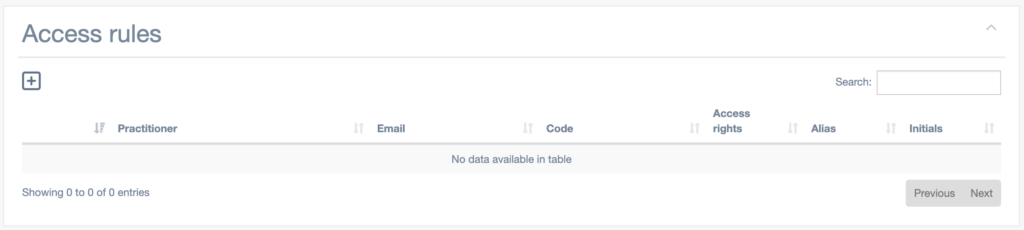
Click the “+” icon to add a new access rule. You will be presented with the following dialog popup:
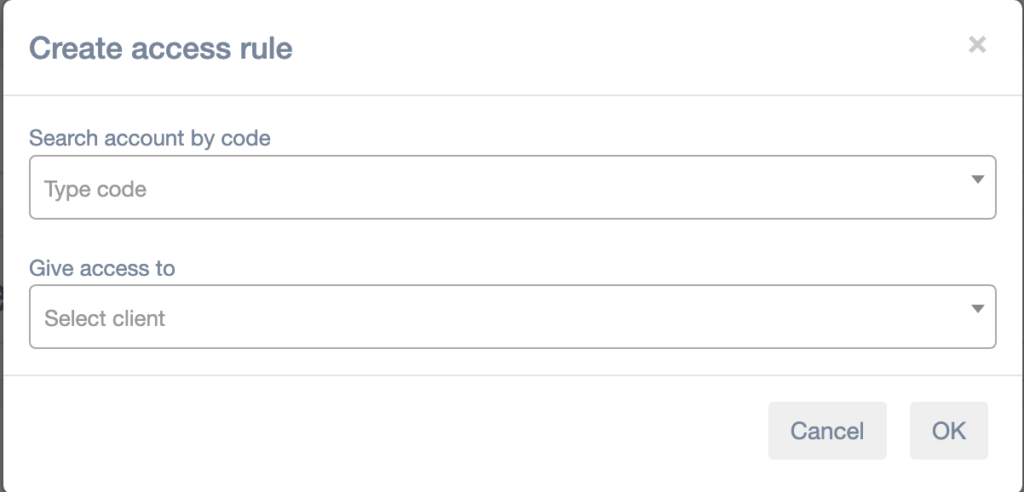
Here you can look for an account by their practitioner code in the first dropdown, then indicate what you want to give them access to (clients, protocols or certain profile features) in the second one. Click “OK”, and the access rule will be added to the list.
Access Levels
The access levels range from limited to complete access.
Always double-check who you grant access to, and at which level!
- Read: The person can view information but cannot make any changes.
- Write: The person can view and edit information, but cannot delete anything.
- Full: The person can view, edit, and delete information (if applicable).
Some also have these access rules:
- Update: The person can view and update information, but cannot delete anything or create something new.
- Create: The person can view, update and create something new.
- Delete: The person can view, update, create something new and delete information.
Areas You Can Grant Access To
- All Clients
Grants access to the complete list of your participants/clients.
You can choose whether they have Read, Write, or Full access. - A Specific Active Client
You can share access to a single participant/client instead of all.
Again, you can choose the desired access level. - Library
You can share your library containing all your interactions and protocols.
Choose whether others can only use them (Read) or also make modifications to the questionnaires (Write) or even be able to delete your protocols and questionnaires (Full). - Access Rules
If you want someone else to be able to manage access rights for others, you can grant that permission here. This has the alternative access rules: Read, Update, Create and Delete. Notice the difference with Update and Create, where a person could only update access rules with the first one but would also be able to make new access rules with the second one. Bear in mind that the person can only give access at the same level or lower than they are. They can’t give Full access to “All clients” if they themselves don’t have Full access to it.
⚠️ Be very careful with this one, as it allows changes to others’ access rights! - Research Collaborator Profile
This profile type is ideal for sharing your study with other researchers.
The chosen access level (Read, Write, Full) affects:- Protocols
- Your library
- The public library
- Participants/clients
- General Settings
- They can also view your Profile settings and subscriptions, but cannot make changes to them (doesn’t matter what access level you choose).
- Practitioner Profile
This profile type is useful for sharing with psychologists within the same practice.
They can view your protocols and subscriptions but cannot modify them.
You can also share your private library, which remains view-only.
Participants are not shared automatically, but you can still share specific participants if needed. You can’t choose the access level for this profile, it’s always Read. - Specific Protocol
If you want to share just one protocol, you can do that directly here.
This way, you don’t need to grant access to your entire library or make the protocol public.
If you want to give maximal access, you should add the ‘research collaborator profile’ rule and set the Access rights to ‘full’ once the rule appears in the list.
Accessing another account
Once some level of access is given to another m-Path account, they will be able to go to your account:
- First the researcher needs to log into their own m-Path account
- In the top left corner the researcher now can click on the map icon (see image below)
- The researcher can now choose the project they want to to open
Upload
Here you will find the field where you can add your pCloud code (as explained here). Next to the text field, you see two buttons. The first one makes the password field visible. The second one flushes your upload cache, so any files still marked for uploading but haven’t reached your pCloud folder yet get uploaded. Click this button if you seem to be missing some expected files.

Good day,
Is it possible to communicate in the m-path app? For example when the client wants to ask a question or a therapist to give feedback?
If this is not a feature, are you working on this?
Kind regards
Mirjam Snel