Once you’ve successfully created an online dashboard account, the fun can begin! You can start exploring the functionalities of m-Path. Let’s start with creating a questionnaire.
The very basics of creating questionnaire is explained in the following tutorial.
1. Choose a participant
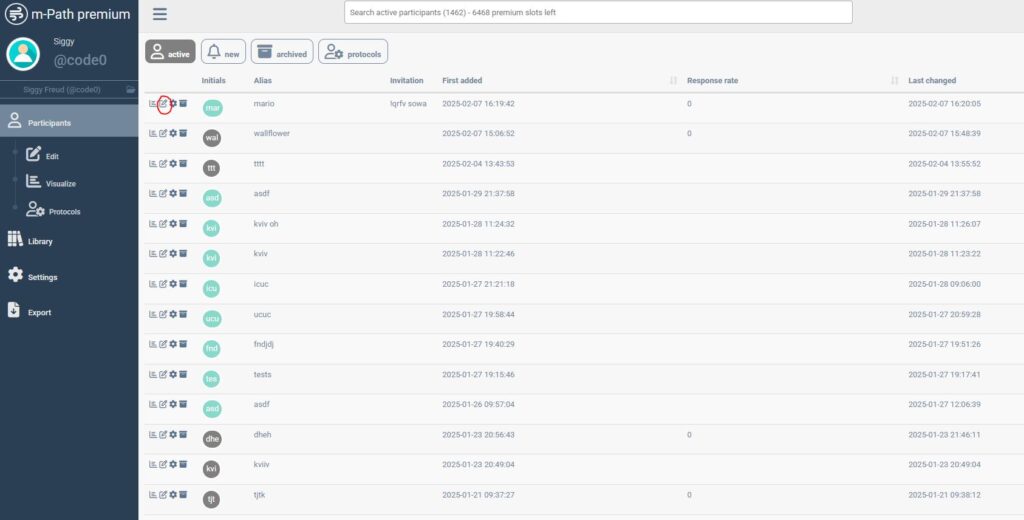
First you have to choose a participant for whom you want to create a questionnaire. On the Participant tab, you can see all your participants. New participants are in orange. Click on the pen and paper icon to start editing a questionnaire for a specific participant. The first time you open up this page, you will only see yourself. You can start by creating a questionnaire for yourself.

2. Create a questionnaire
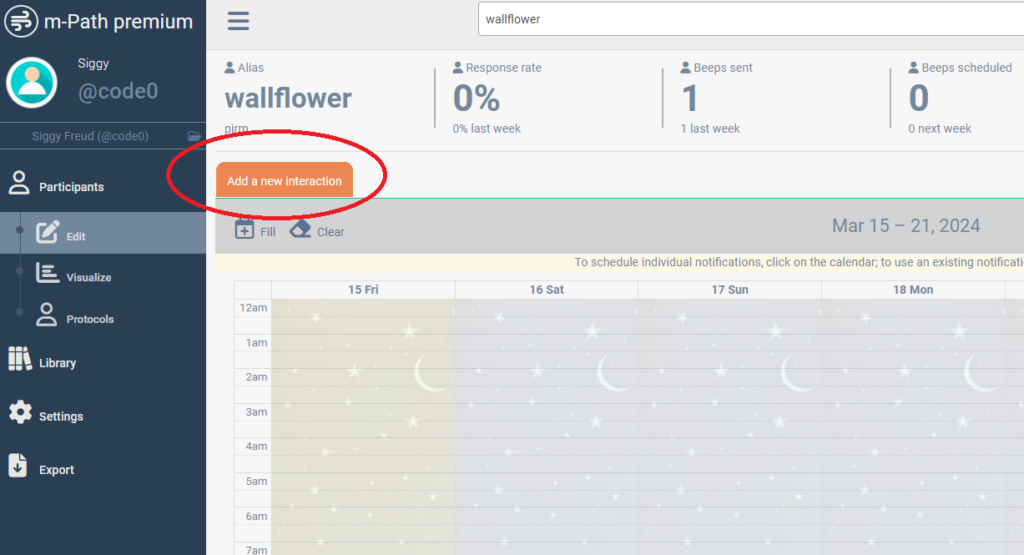
Add a new interaction
Once a client or participant is chosen, a questionnaire for this person can be manually created. In a later step, you will learn how to automate this process for research.
When there are no interactions yet, you can create your first interaction by clicking on Add a new interaction.

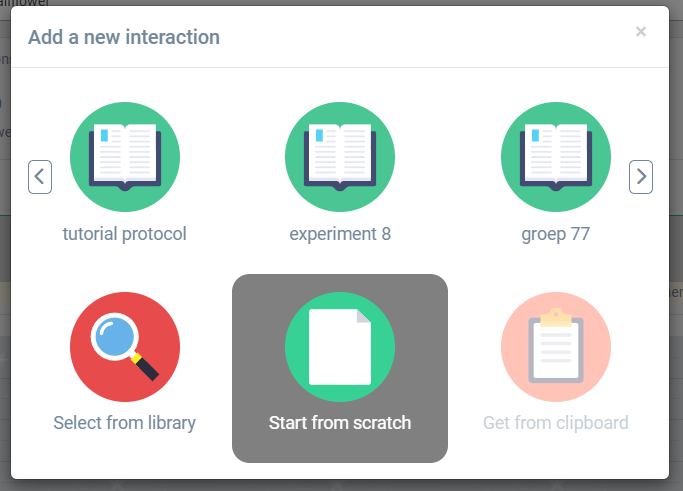
Subsequently you can click on start from scratch to start a new questionnaire.

Add questions
Type your question and press enter or search for a questionnaire from the library. If you click the question bar, a drop down list of question types is presented. However, you can first type in your question and then adjust the question type as explained in the next paragraph.
Adjust question settings
Once you’ve added a question, a pop-up box will appear in which you can find the question, a label and the question type.
- Set a label to help you identify the question item in further analyses.
- Adjust the question type according to the type of question you want to ask.
Once you’ve finalized your question, you can visualize (), duplicate (✱), copy (), move (▲▼) or delete () it.
m-Path includes many different question types. Each question type has many different settings!
Interaction properties
Once you’ve finalized your questions, you can adjust the name and properties of your interaction by clicking on the icon next to New Interaction in the top green bar. Interaction properties can be used change the name of the questionnaire and the behavior of notifications.
Note that there are also different kinds of interactions such as buttons and applets. The type of interaction is a questionnaire by default. To get a detailed understanding of the predefined interactions and their properties, take a look at the Create category.
3. Test the questionnaire
If you’ve set up your phone as the test device as done when you first created a dashboard account, you can test the questionnaire on your phone by clicking on Test on me. If you are with the client or participant, you can also test the questionnaire on his or her phone by clicking on Test on client.

4. Export questionnaire to the library
Once you have created a questionnaire and you want to reuse it for other participants, you can export the questionnaire to the library.
When you are happy with the questionnaires you created, you can start with scheduling these questionnaires.
