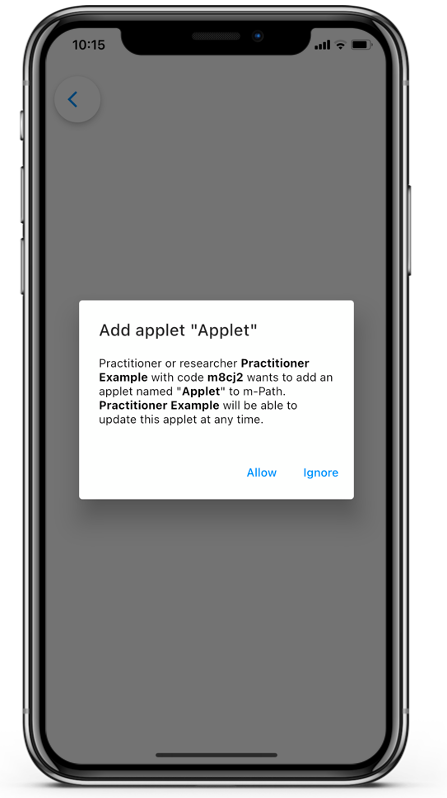
By using the Add applet item from the advanced items, you can send a notification at the end of a questionnaire so clients get asked to add an applet.
This can be used when making an intake interaction.
Example
- Add a new interaction.
- Create an informed consent or use a template out of the library.
- Add an avanced item Add applet.
- Name and label your applet.
- Choose the (existing) applet you want to install under Applet interaction.
- At the end of the questionnaire, the client will get a notification to install the applet.


Settings
General
Specific
No cancel option
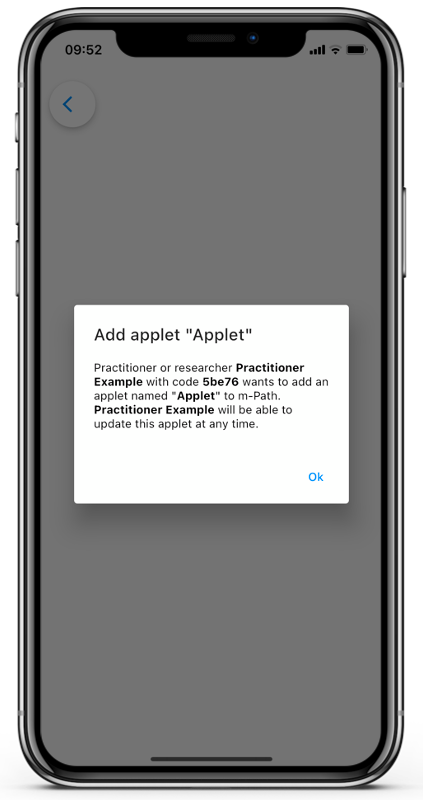
When the No cancel option box is checked, clients can not prevent you from installing the applet. The Add applet notification will only have an Ok option instead of the Allow and Ignore options.


Applet Mode
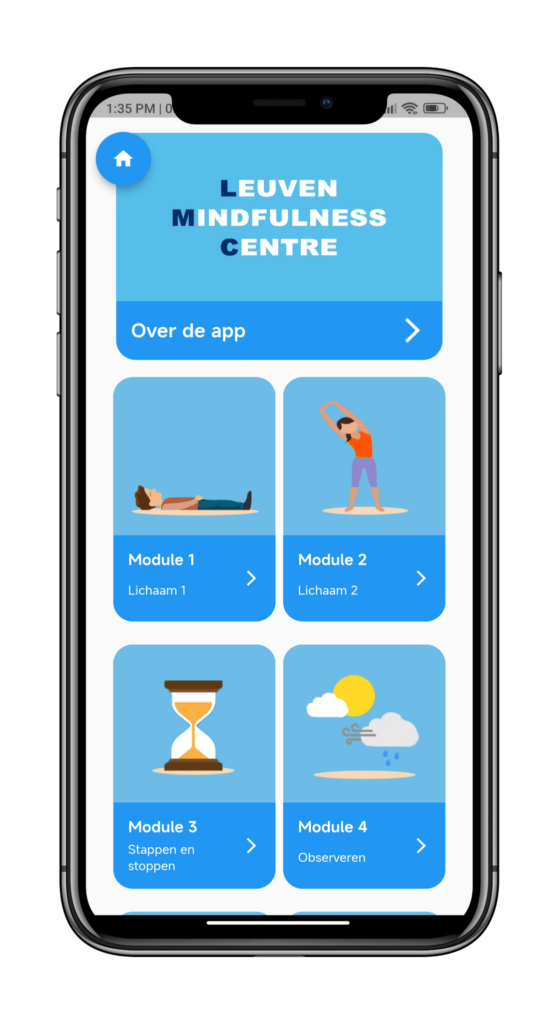
When this option is ticked, installation of this applet will also trigger “Applet Mode” on the client device. When the user starts up the app while this mode is active, m-Path will boot straight into the applet homepage, instead of the m-Path homescreen. This is useful for practitioners who only need clients to access actions in an intervention, and do not need other m-Path functionalities. It is still possible to use all m-Path features such as sending beeps, and after a beep has been completed, the user will be redirected to the applet homepage, so the applet becomes the nota bene application.
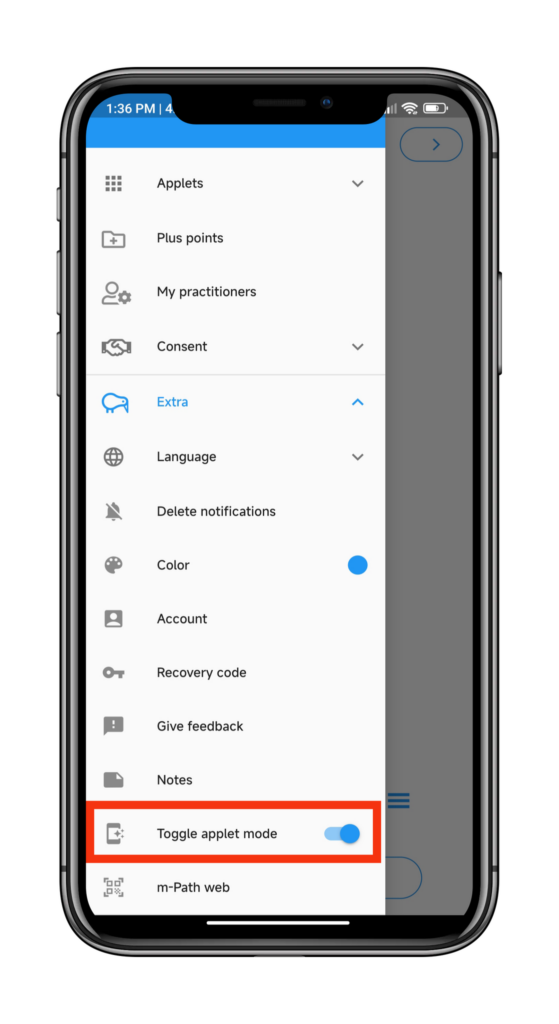
Clients can still return to the actual m-Path homepage by pressing the home icon on the first page of the applet. If they want to turn off the applet mode, a switch can be accessed under Settings -> Extra -> Toggle Applet Mode.


